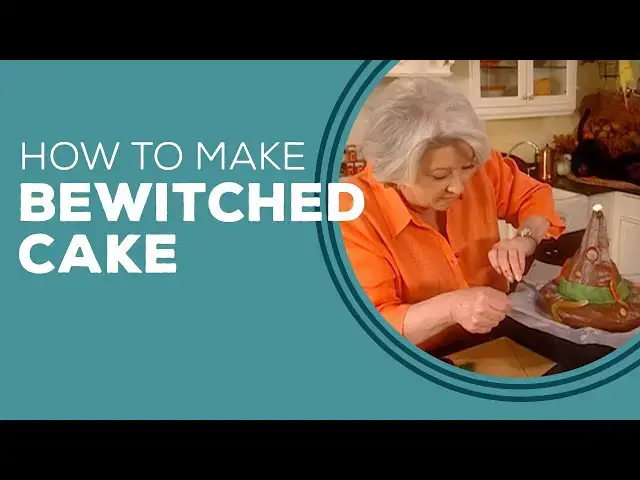

0:09
Now, I've just draped a regular cake
0:12
plate, and we're going to put the wax
0:15
paper around so I won't get that messed
0:18
up. Now, right over here next to me, I
0:21
have just a box cake mix, one round and
0:25
one square. What I've done with this one
0:27
is I've mixed red food coloring into
0:30
yellow to get kind of an orange cake.
0:32
So, we're going to start by placing our
0:37
round layer into the center of our dish.
0:40
We're going to take our square piece and
0:43
we're going to make this just a little
0:45
even by trimming the little puffy part
0:52
off. I'm going to flip him like that. So
0:55
we'll have a smooth edge to work with.
1:03
down and then pull those edges around so
1:06
we can just pull him right on
1:09
out. All right, that's going to be part
1:11
of our hat. Then we're going to go over
1:18
one. We're just going to push straight
1:25
down and pull away. All right. Now,
1:30
we've got some scraps left. This is
1:32
going to be the top of the
1:34
hat. And I'm going to take these
1:38
scraps and stuff them down into that
1:42
cone there. We going kind of press it in
1:46
that and sit him right there.
1:50
So, we're going to use a canned
1:55
frosting. Get a little start right
1:58
there. We're going to spread him in. And
2:01
the kids are just going to love this
2:05
hat. We're ready for our next
2:08
layer. And place him right right about
2:12
in the center. And we're going to do the
2:21
Just going to smooth that
2:25
Okay, we're going to do the same thing
2:28
for our next layer because we're getting
2:30
the height for our hat. One
2:36
piece. Now, I'm going to use a wooden
2:40
skewer to make sure our hat doesn't fall
2:43
off of our plate during the party. All
2:46
right. So, we're going to go in
2:50
just like so. Just like
2:54
that. All right. Now, we're ever so
2:58
gently going to try to get the frosting
3:01
on to the top of our hat without
3:05
knocking it down. That may be the trick.
3:07
So, we're going to just start up there
3:13
gently bring it down.
3:26
that. And he kind of fell on us. So, I'm
3:29
going to turn that around
3:31
and bring it up to the top like that.
3:35
Now, we're ready to turn him
3:37
and do a little bit more. I came from
3:40
top to bottom on that first one, but I
3:42
think I'm going to try it from the
3:44
bottom up. and let's see what we've got.
3:47
Almost think that's going to work
3:49
better. So, we're going to start down
3:55
up. Just like that. And see what we've
3:59
got. Oh, I think that's much better.
4:01
Don't y'all? I'm going to take my
4:03
spatula now and just start smoothing it
4:09
out. Look how cute. Our hat's starting
4:15
it? And I'm going to go around the edge
4:18
of the hat. Now, no self-respecting
4:21
witch hat would go without a band. So,
4:23
that's what we're going to put on next.
4:25
And this is real, real easy to do. You
4:28
can buy fruit rollups at the grocery
4:30
store. And you can cut them to the
4:33
length that you need and take a
4:35
paintbrush and brush it with some white
4:37
kro syrup. But I've made mine out of
4:44
cute. All right. Now, I've got a tray
4:46
full of candy that Michael put out for
4:49
me. And I'm going to just start placing
4:55
candies. All right. Stick different
5:00
hat. You know, I don't want to do too
5:04
it cuz I think it's just kind of so cute
5:07
the way it is. I'm going to clean my
5:15
cake as we slip out our wax paper.